

Today, with some help, I managed to get the brake drums off. The key to success was an OTC 6980 drum puller. The tool wasn’t perfect as the arms were to short to be used as intended, but it did the job. Before i could pull the drums off, I had to remove the three screws that retained the brake drum. Check out my previous post if you want to see the tool I used to remove the screws. Using my home built tool, I managed to remove 9 screws with no damage to the screw head and without using an impact driver. A picture of the drum puller and it in use is provided below.

OTC 6980 Drum Puller
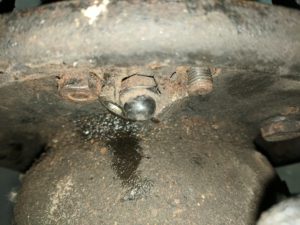
Note the fact that I’ve placed the bolt in the center of the puller on the head of a bolt that retains the hub. It is intended to be centered on the hub and is fitted with a pin that would have perfectly seated centered the tool. The tool was wide enough for the land rover drums, but the arms were not long enough. Fortunately, the tool also comes with a strap that hold the tool onto the drum and even with the tool off center, it pulled the drum off easily.
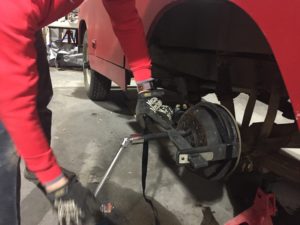
Brake Puller in Use
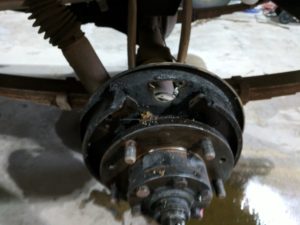
Removed Brake Drum – Inside ViewOnce the drums were off, I focused on removing the brake cylinders.
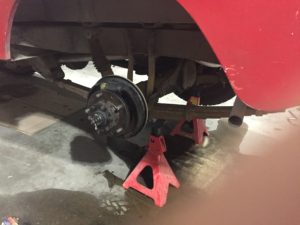
No Brake Drum
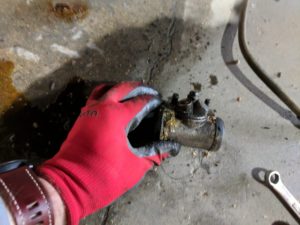
The first step in removing the brake cylinders was to disconnect the brake lines. I setup with the expectation that there would be a lot of brake fluid to catch, but it turns out the brake lines were almost dry. For the front brakes, the flexible brake line needed to be disconnected from the frame first. Then the brake line itslef could be easily detached from the cylinder. Detaching the rear lines was easier as each cylinder was only attached to a fixed hard line.
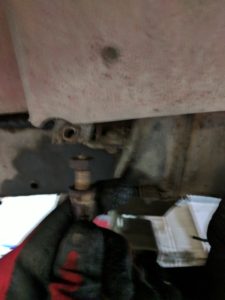
Front brake line removed
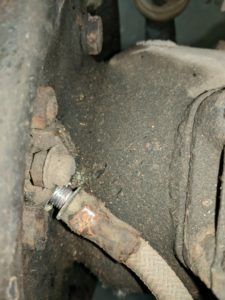
Front brake line being removed
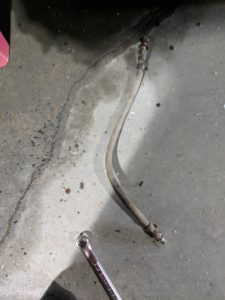
Front brake line
With the brake lines disconnected, removing each cylinder was accomplished by removing two 1/2″ nuts.
Brake Cylinder Retainers – One nut removed.
Brake Cylinder Removed
Except for the right front, the brake cylinders were in horrible shape. A few pictures tell the story.
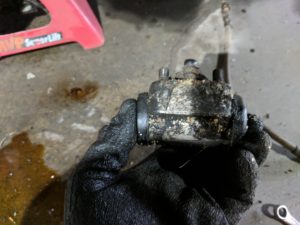
Bad Brake Cylinder
Bad Brake Cylinder
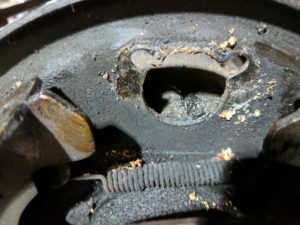
It isn’t surprising that the Rover didn’t stop when you look at the brake cylinders and the results of their failure. The picture below shows just how much fluid accumulated in the brake drum and how that interacted with the dust and debris developed by brake wear.
Result of Failed Brake Cylinder
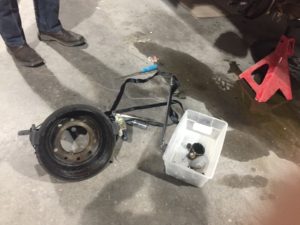
It took me about three hours to get everything off. Unfortunately, one drum was badly seized and it was damaged during removal. Otherwise, everything else is rebuildable. The removed brake drums and cylinders are shown in the back of the Rover in the picture below.
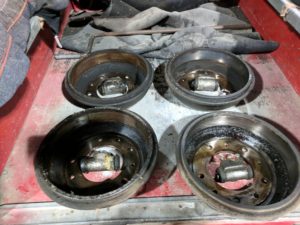
Brake Parts – Ready for Restoration
I am planning to send the cylinders to White Post Restorations to have the cylinders rebuilt and sleeved. I could rebuild them myself, but I don’t have the tools to fit them with brass sleeves which will substantially prolong their life and function. Their service is very affordable when you consider that the finished product will outperform both the OEM part (if you can buy them) and typical aftermarket replacements. Once finished, the Rover will be fitted with factory original cylinders that are better than new.