It’s been months since I’ve worked on the Rover. Lot’s of competing interests and importantly, I haven’t had electricity in my shop for 6 months while the building is getting renovated. Fortunately, that project is moving along faster than this one.
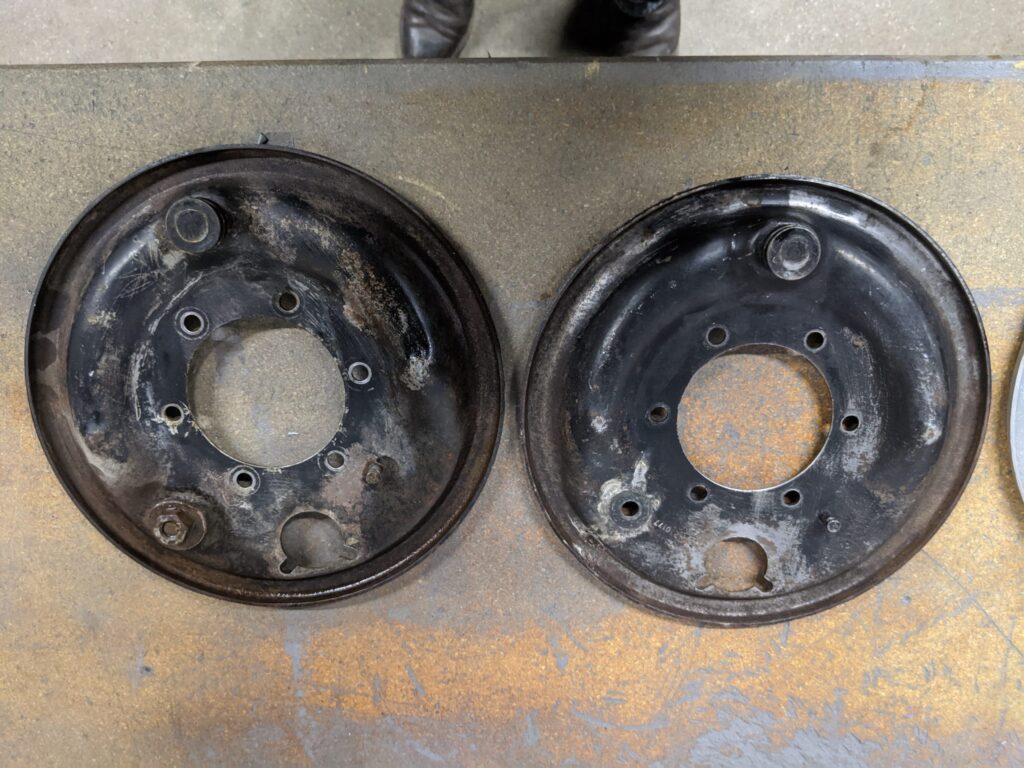
I am not reporting meaningful progress, but I did want to share a few images of the brake back plates. When I pulled them from the Rover, they were caked in grease. That was the good and the bad news. On the plus side, unlike back plates I’ve seen in many other posts, the plates on my Rover are not pitted. Grease has protected the surfaces and they’ve cleaned up nicely.
Cleaning the Parts
The downside was that the grease needed to be removed. I made an attempt to wash the grease off with simple green and some washer and quickly realized that it would neither be easy or quick to clean them up. So off I went to Northern Tool where I acquired a Homak 20 gallon parts cleaner with an integrated pump. I splurged and bought the one that sits on a wheeled cart. That turned out to be a good investment as I’ve moved it around the shop and used it for a variety of clean-up projects now. While a few people warned me away from this cleaner, it has worked well for me.
I coupled the washer with 5 gallons of Von Haas Parts Washer Solvent. While the solvent wasn’t quick, it was effective. I pulled up the parts tray and immersed each back plate in the solvent and let it rest for a day. Then, I brushed off what I could and repeated. The total time spent cleaning the plates was probably only an hour but it took a full week to soften all of the “vintage sludge”.

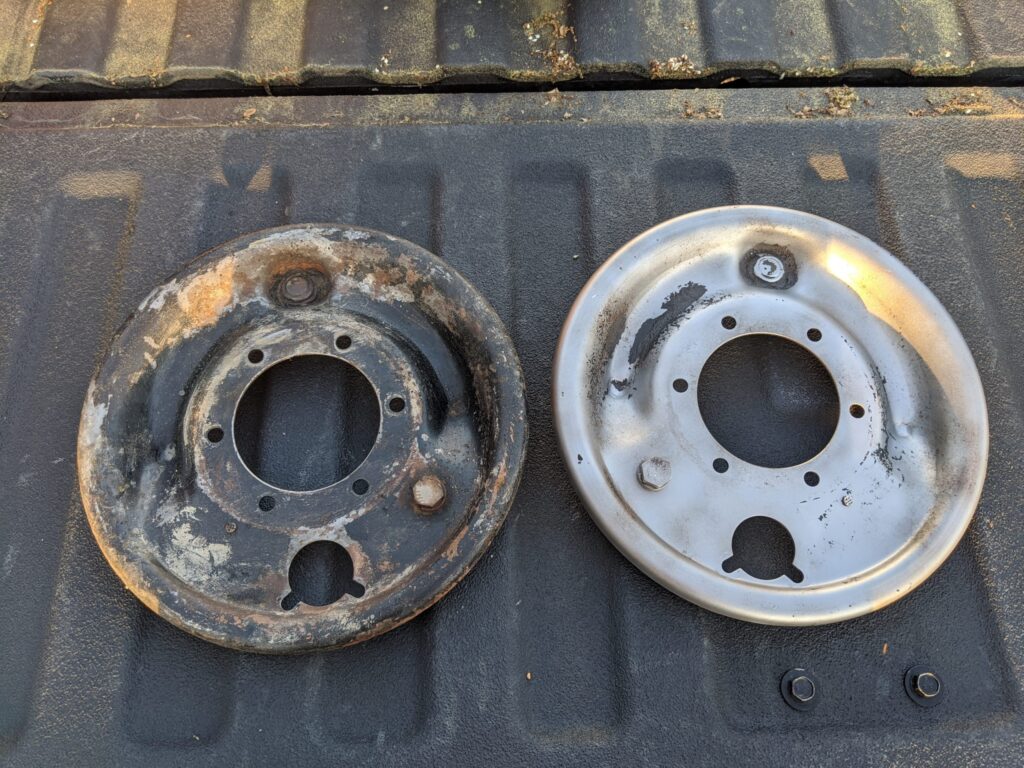
The cleaned up back plates looked really good. As I noted, because of the heavy coating of oil and grease, there was minimal rust and almost no pitting. The stainless steel brush I used to clean them managed to scuff off some paint, but overall as the picture below shows, a little paint would have returned them to a passable state.

In the picture above, note that I managed to break the adjuster which should appear in the lower left corner of the right back plate. So, replacing the adjusters just got added to the project.
Blasting the Plates
Rather than paint these, I’ve decided to power coat them just like the wheels, That means that they need to be bead blasted and then etched to allow for the new finish. I’ve been taking on one back plate each night as a way to kill some time while everyone is locked in waiting for the Covid-19 crisis to pass. I’m using straight glass beads. For more information on blast media, check out Skat Blast’s website. Glass beads do the job but they’re pretty slow. I am planning to order some of their “Speed Bead” which should cut clean time by a factor of 5. For a comparison of media take a look at their media comparison chart.
The picture below shows the results from the first bead blasting session. The black spots on the blasted part are actually grease deposits which the glass beads just won’t remove.

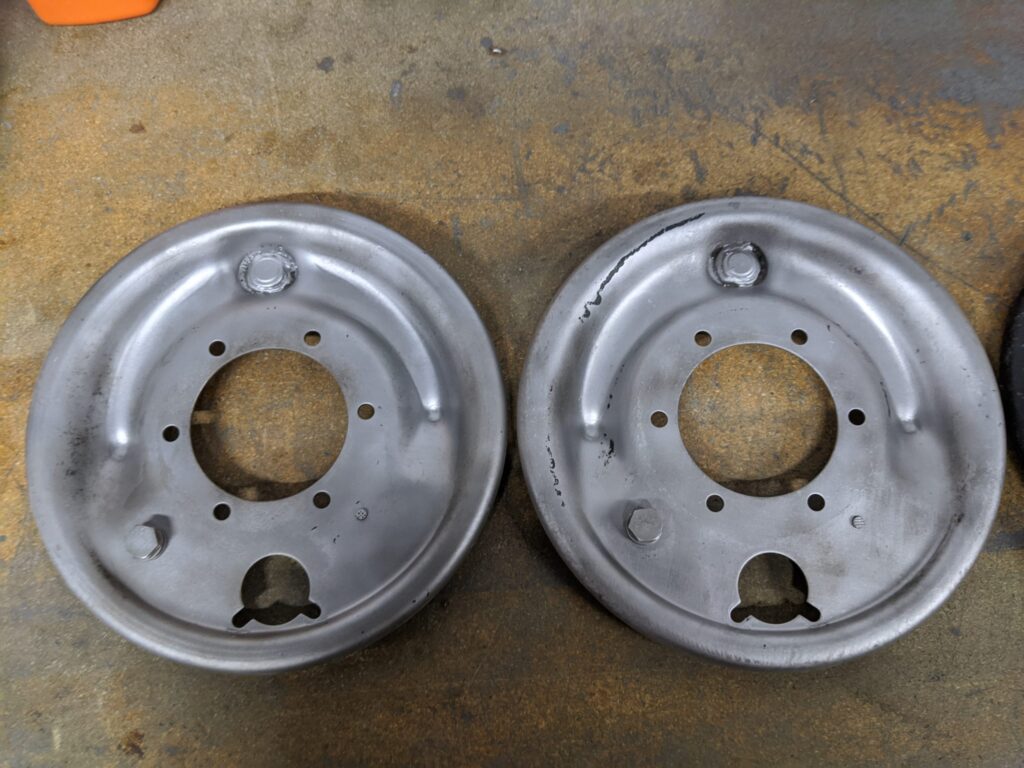
After a follow up trip to the de-greaser, two plates are complete. The results are pretty good. There are a few places where it is obvious that even after trying again, I did not remove 100% of the grease. I’ll drop them in the washer again and then re-blast. Two almost finished plates are shown below.

Land Rover Series 2A Brake Back Plate Part Numbers
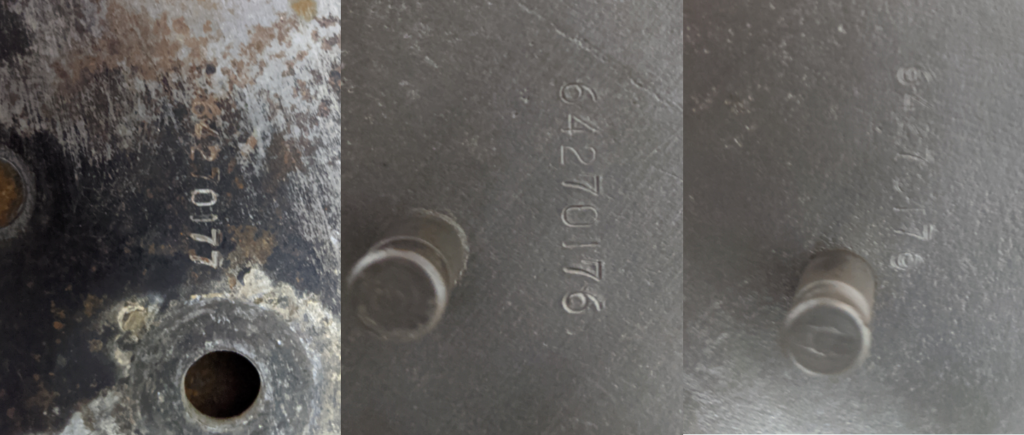
Since the parts are now cleaned up, I was able to locate the factory apply part numbers. The numbers were obviously hand applied. One of the marks is visibly flawed on the last number which appears to have been double struck. There are two part numbers; one for the left and one for the right. The part numbers are: 64270176 & 64270177. The right two images are the same number applied in the same place with two very different results.

