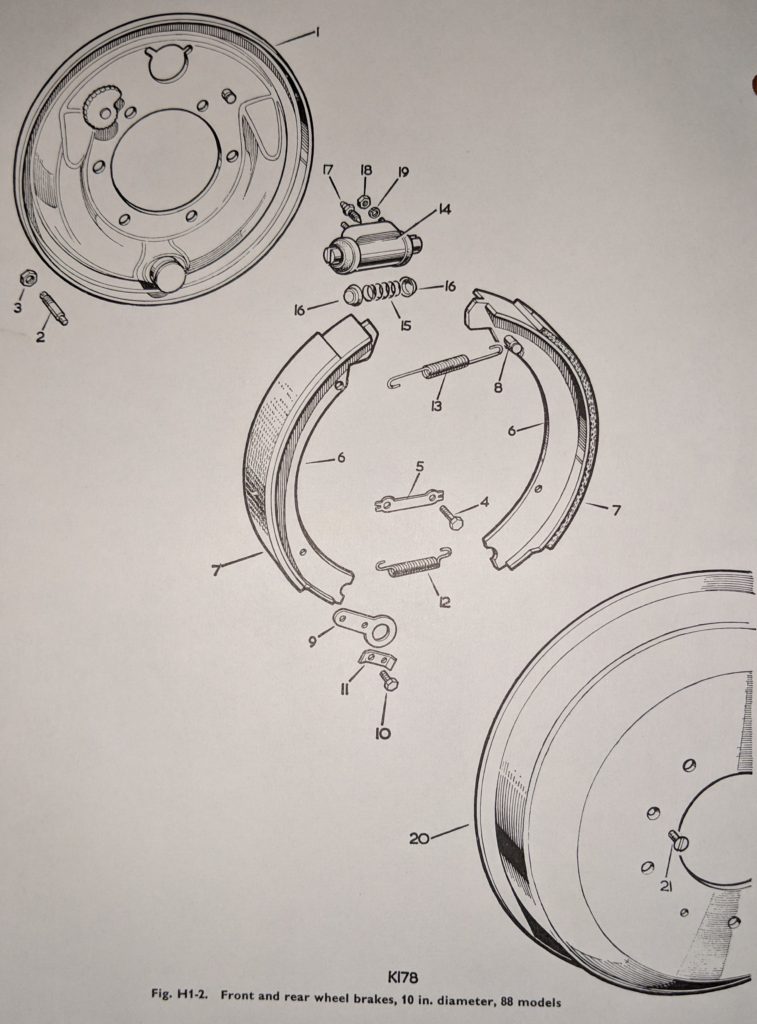
I’m anxious to get the brakes rebuilt so that I can sneak in some summer driving with the Rover before undertaking a more substantial disassembly and restoration. But with the drums off, now is the perfect time to tear the hubs apart, confirm that everything is in good working order and address the visible bits.
Below, I’ve included some pictures from the hub disassembly process. Getting started required a 2 5/16″ “hub nut spanner”. I wanted a version that would let me attach it to a socket wrench (unnecessary) and found a tool designed for a Jeep hub nut on E-Bay for around $5. The tool shown in the picture below worked, but use with a socket wrench was impossible as the spindle reached all the way to the back of the tool making it impossible to insert a socket wrench stub. I will be ordering the correct Rover version which I can now see is longer.
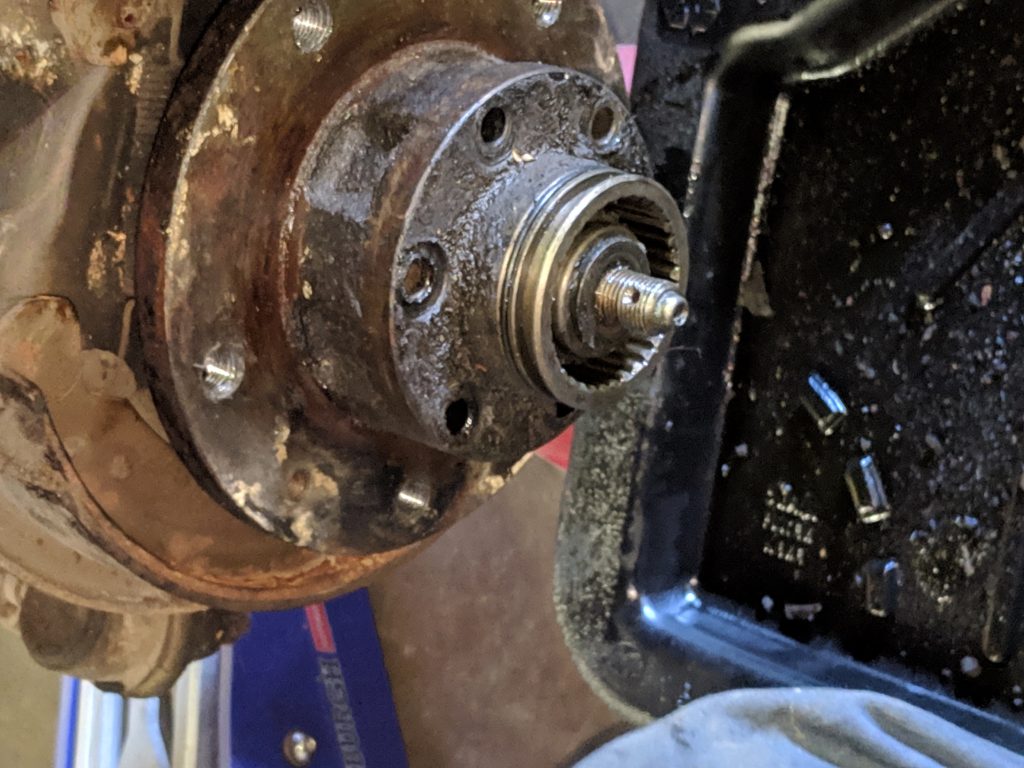
Hub prior to disassembly 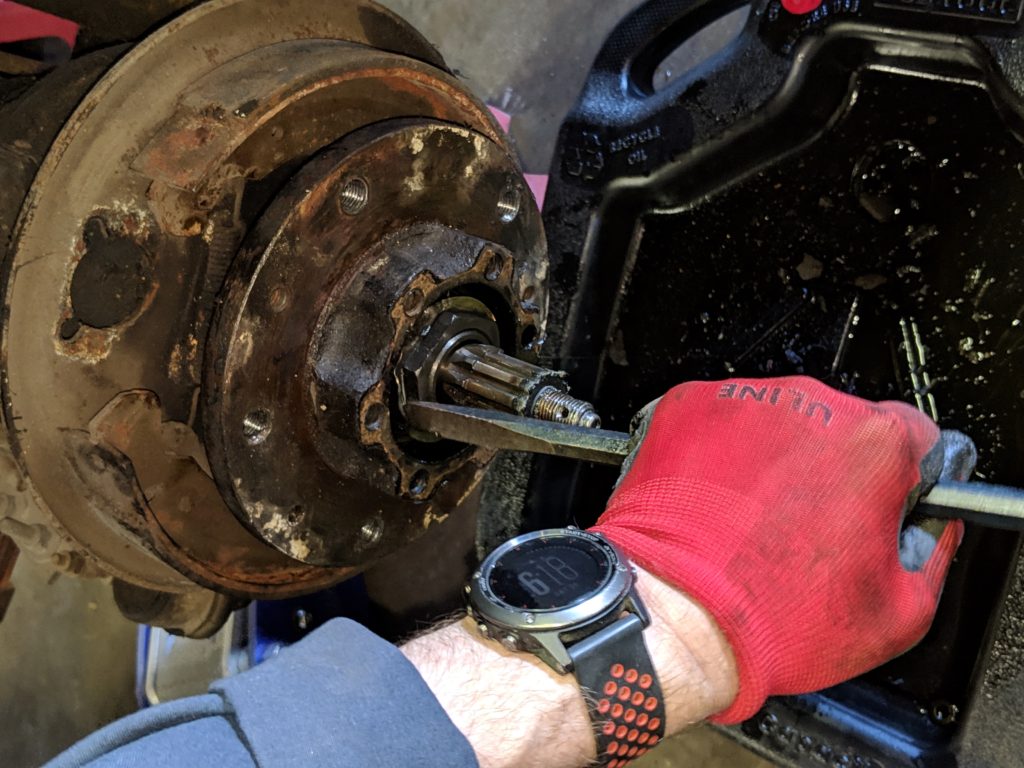
Flattening the tabs on the lock washer 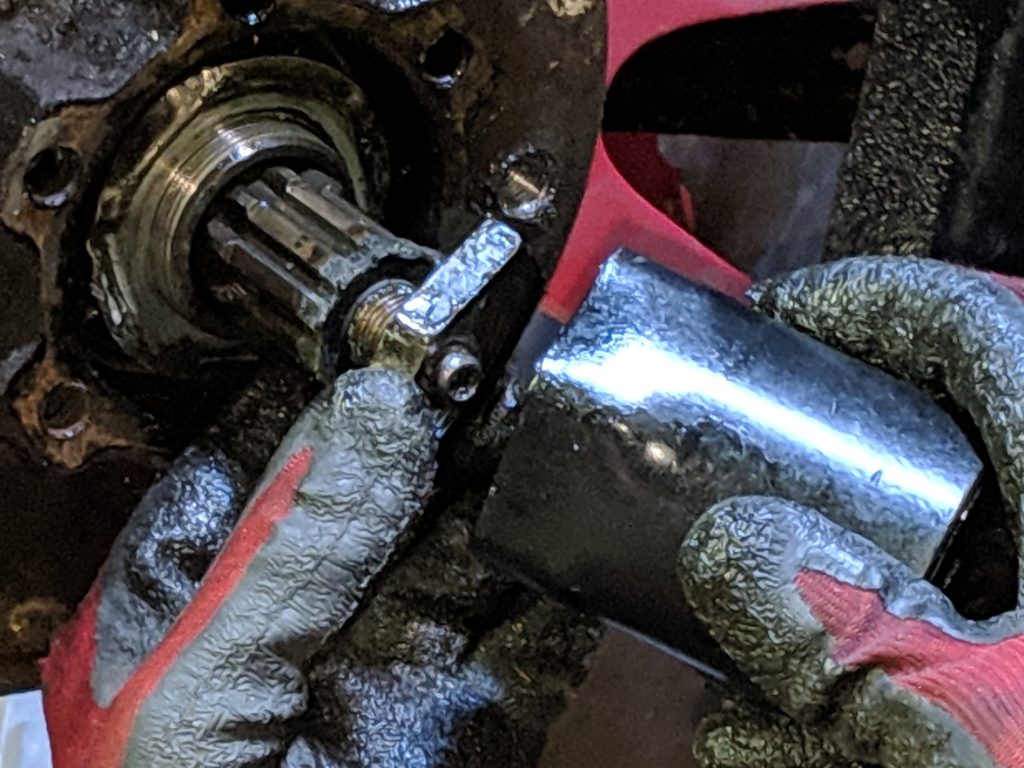
Close-up of the hub nut and removal tool
The correct hub nut spanner is shown below. I found this tool – also on EBay – for $7. Versions on specialty parts web-sites ranged from $15 to $30.

More pictures of the hub removal process follow. The assembly uses a number of “lockers” that require you to bend (or unbend in the case of removal) them to retain the bolt. This includes 3 lockers for the 6 backing plate bolts. I also found a very thin paper gasket behind the brake backing plate – but only on one wheel which may have explained why one wheel had accumulated more oil and dirt.
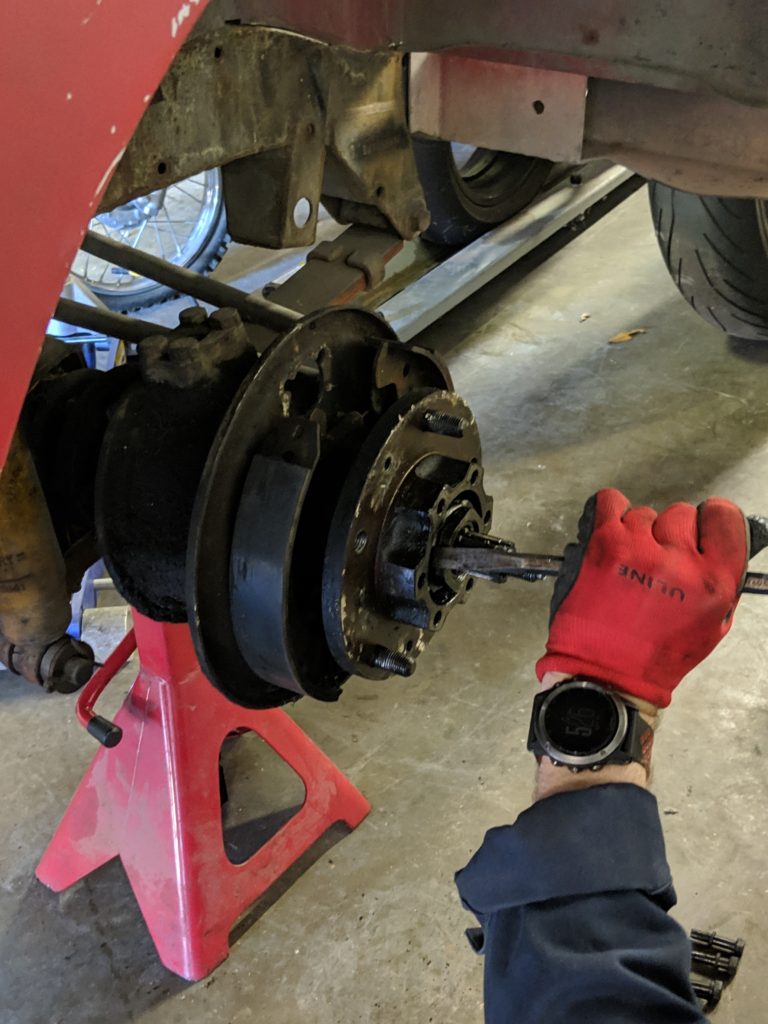
Removing the hub retaining nut 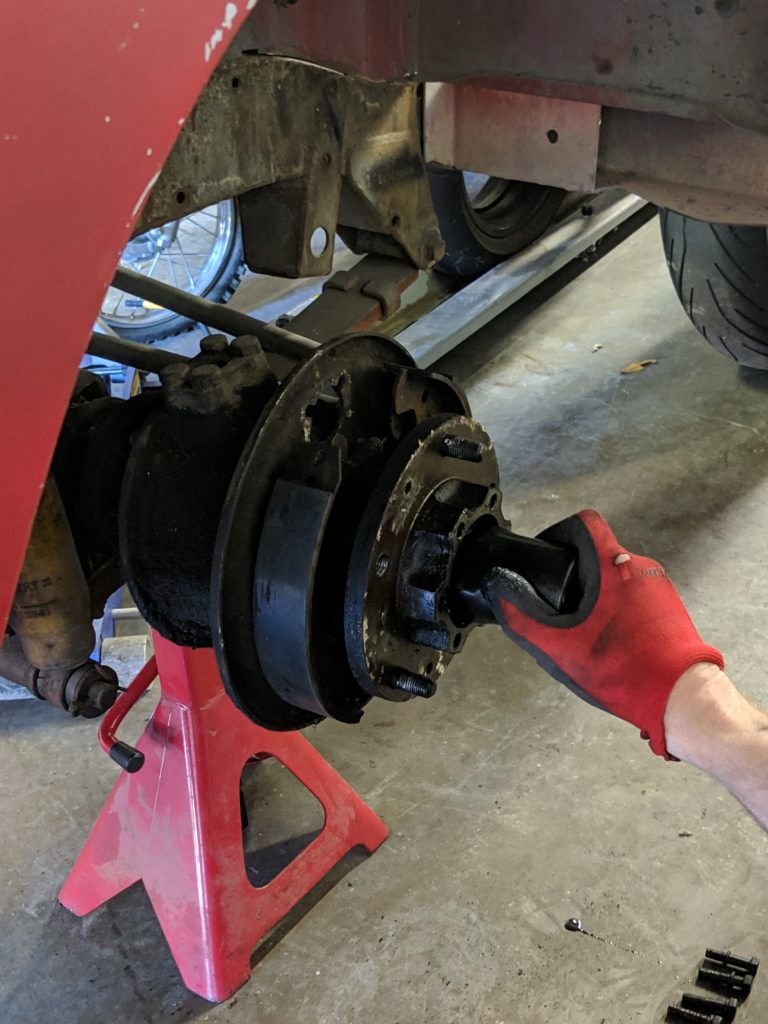
Using the hub nut socket 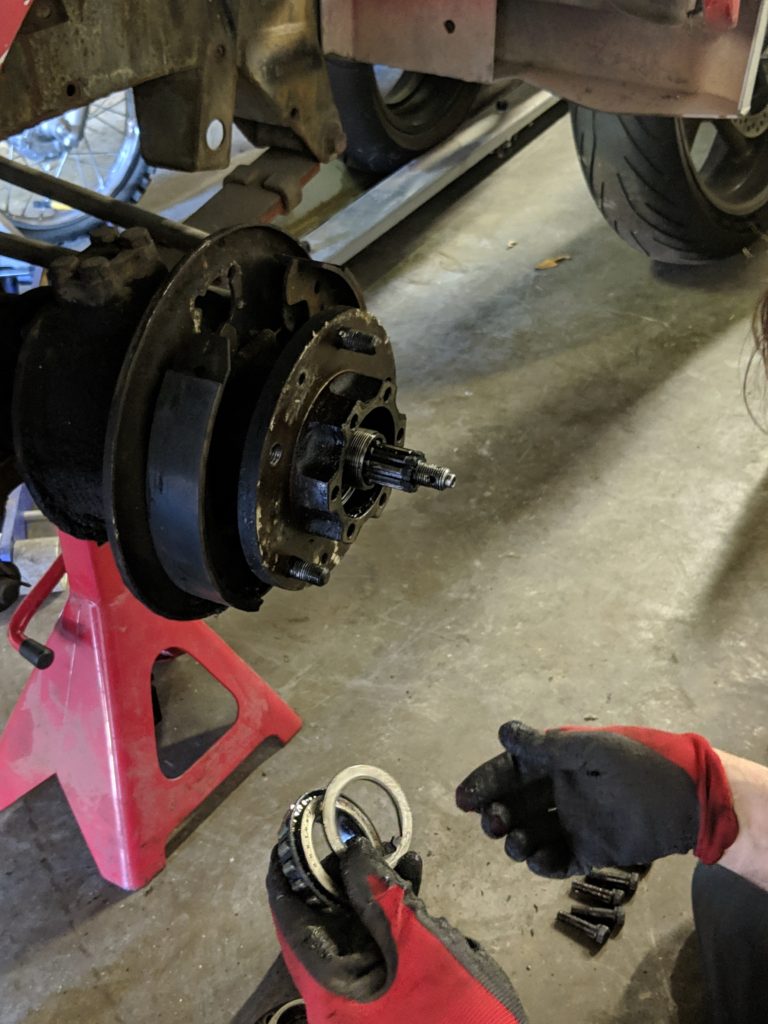
Removing the bearings 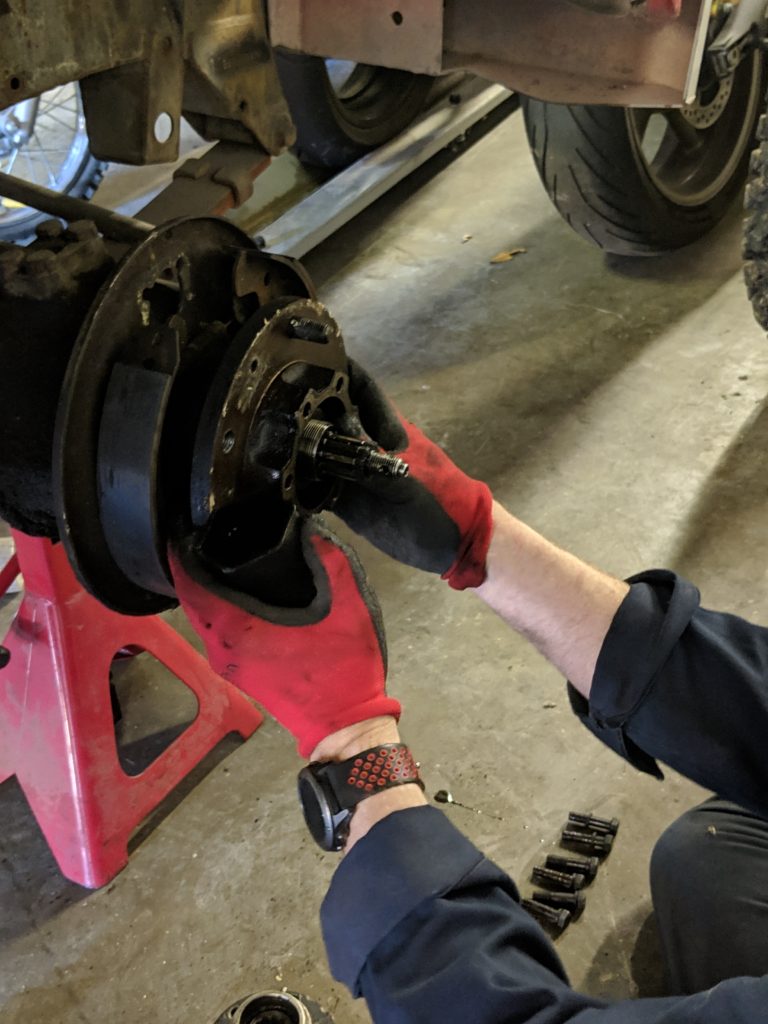
Getting to the backer plate 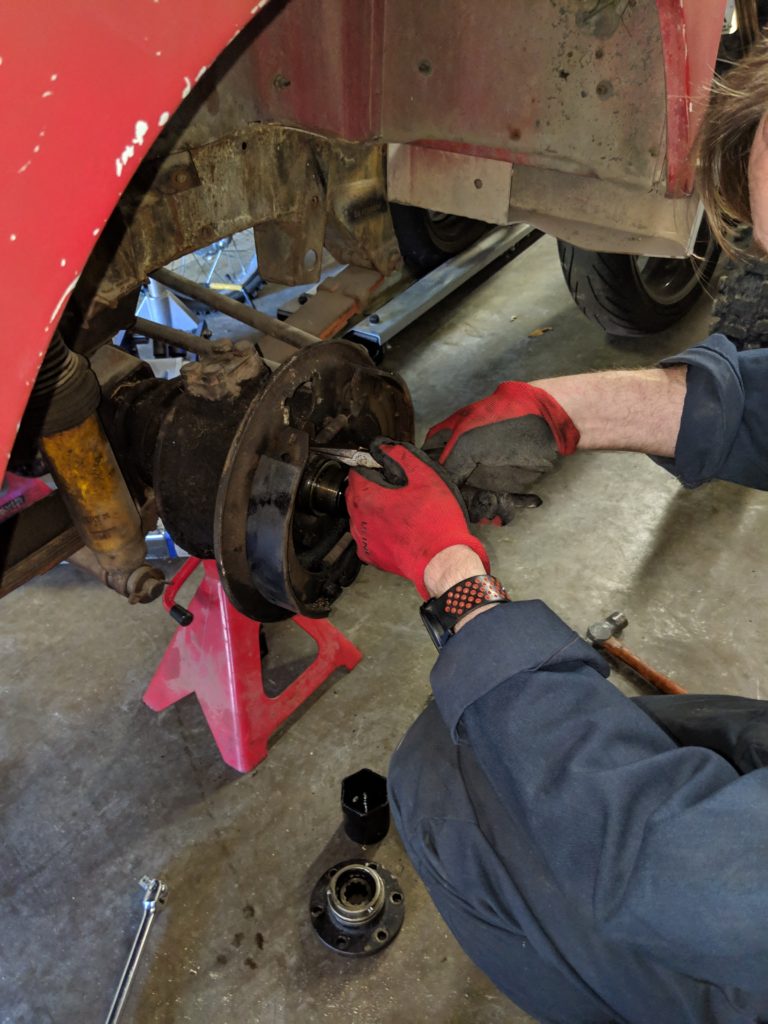
Removing the brake springs 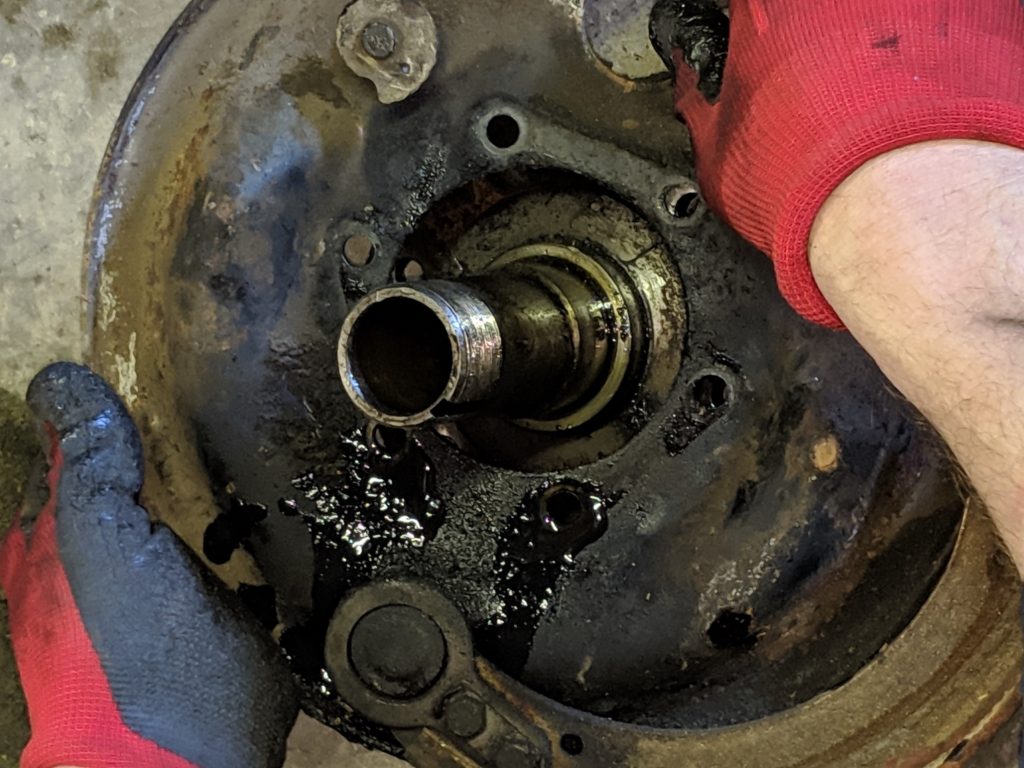
Removing the brake backing plate 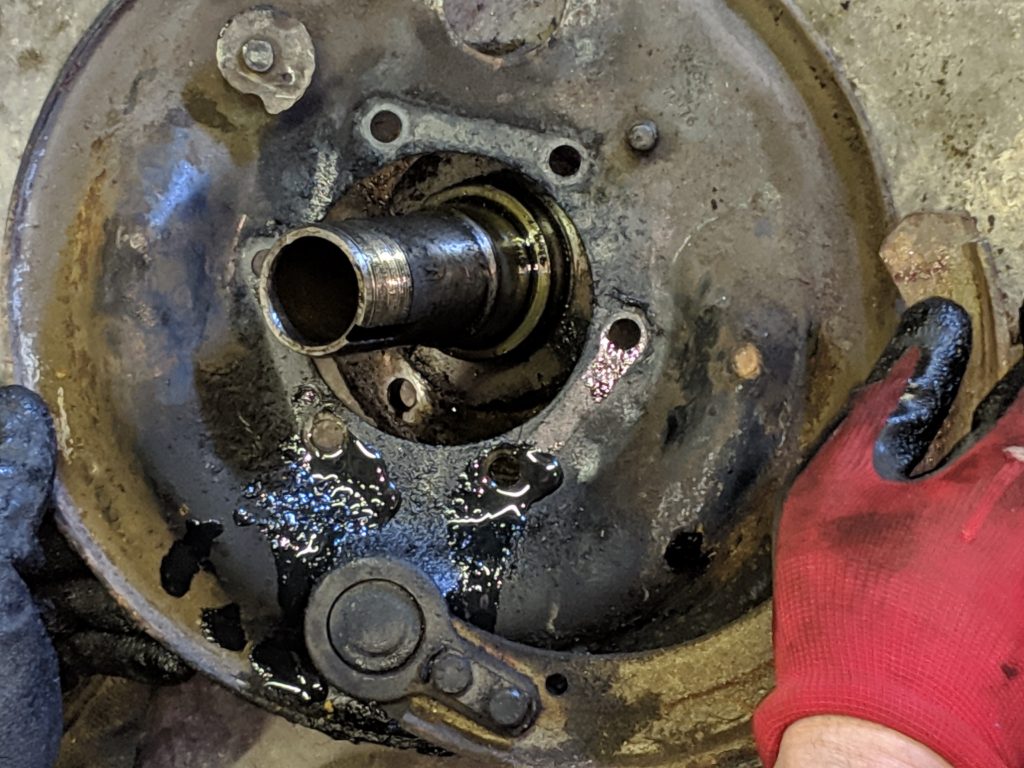
Separating the backing plate from the spindle 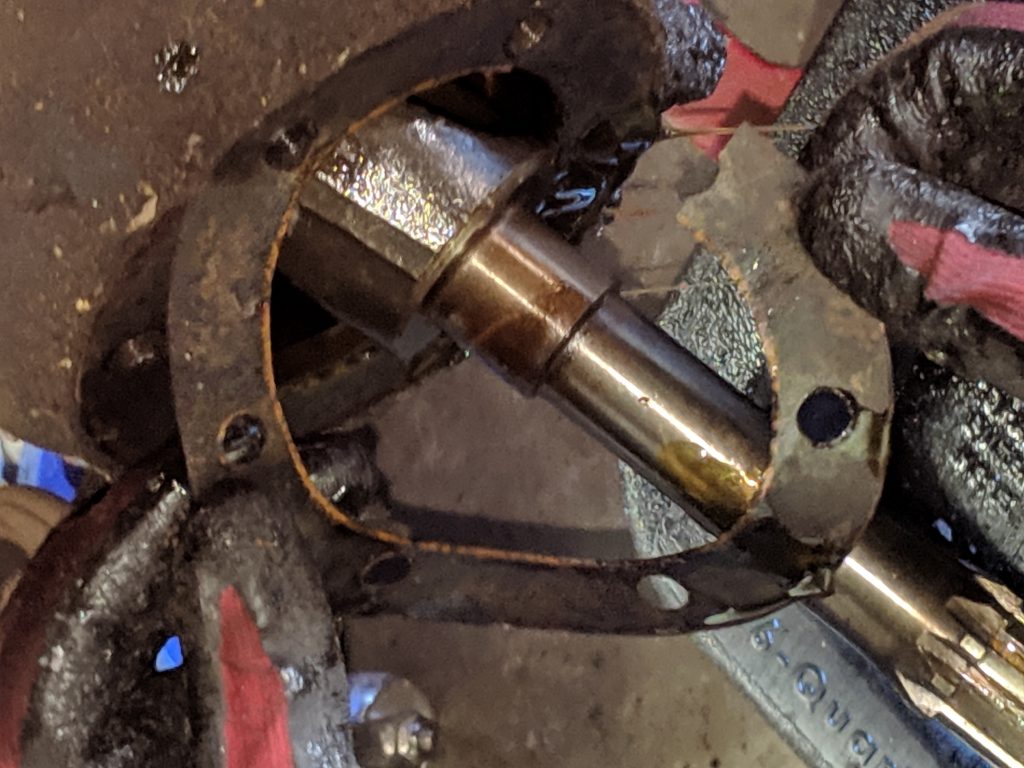
Paper gasket behind the brake backing plate
The entire hub assembly diagram is shown below. Once I’me ready to assemble I plan to pay particular attention to the instructions in the factory manual. I’ve included pictures of the three key assembly drawings from my original factory service manuals below.
Rovers North has similarly detailed drawings along with a listing of purchasable parts that will be useful as I plan for the pieces that I will need to purchase rather than restore.

